
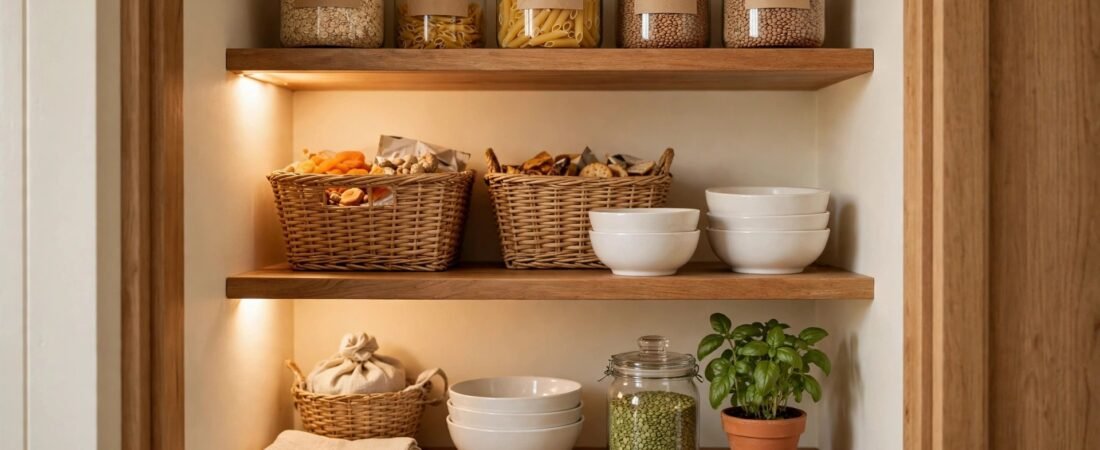
These small pantry organization ideas on a budget will turn even the most chaotic cupboard into a space that actually works. A tiny pantry doesn’t need expensive custom shelving — it needs a system: clear containers, honest labels, zones for how you really cook, and a few clever pound-shop buys that double your usable space. No drilling, no remodelling, no big spend. Just a Saturday afternoon and a plan.
1. Empty it completely and take stock
Before you organise anything, take everything out. Every tin, every packet, every half-used bag of flour. Yes, it makes a mess on the kitchen floor — that’s the point. You’ll find duplicates (three open jars of the same spice), expired items (that soup from two years ago), and things you forgot you owned. Bin what’s expired, donate sealed items you won’t use, and group the rest by type on the counter. This single step usually frees up a quarter of the space, and it costs nothing. You can’t organise what you can’t see, so start with a completely empty pantry and build the system from scratch.
2. Measure before you buy a single bin
The most common pantry mistake is buying storage containers first and discovering they don’t fit. Grab a tape measure and note the width, depth and height of every shelf, plus the clearance of the door. Write the numbers on your phone and take them to the shop (or keep them handy online). Containers that fit your exact shelves look custom-made and waste zero space; containers that almost fit create dead zones. While you’re at it, measure the inside of the door too — you’ll need those numbers for idea 7. Five minutes of measuring saves the most annoying kind of buyer’s remorse.
3. Decant staples into clear containers
Rice, pasta, flour, oats, lentils, cereal — decant them all into clear, airtight containers. This is the move that makes a pantry look instantly organised, because it replaces a chaos of mismatched packaging with calm, uniform rows. Clear matters more than pretty: if you can see what’s inside, you’ll actually use it before it expires, and you’ll stop buying duplicates. Square or rectangular containers use shelf space far more efficiently than round ones. You don’t need a matching designer set — discount stores sell perfectly good airtight canisters for a few pounds each, and uniformity of size matters more than uniformity of brand.
4. Group like with like in labelled bins
Not everything deserves decanting. For the rest — snack bars, seasoning packets, baking supplies, tea and coffee — group similar items into open bins and label each bin. A label maker is nice, but masking tape and a marker work just as well and cost almost nothing. The label is what makes the system survive real life: when everyone in the house knows the baking bin lives on the second shelf, things actually go back where they belong. Organising blogs like Blue I Style Blog consistently rate labelling as the highest-impact cheap upgrade in a pantry, because it turns a tidy arrangement into a system that stays tidy.
5. Add shelf risers for stadium visibility
The back half of a deep shelf is where food goes to die — you can’t see it, so you forget it, so you buy it again. A tiered shelf riser (a simple stepped stand, a few pounds from any home store) turns one shelf into stadium seating: tins and jars at the back sit higher, so everything is visible at a glance. This is especially transformative for tinned goods, spices and small jars. One riser per shelf is usually enough, and they’re freestanding, so there’s nothing to install. If you’re handy, you can even make one from offcuts — but honestly, at these prices, buying is the budget move.
6. Use a lazy Susan for deep corners
Tall bottles — oils, vinegars, soy sauce, syrups — are the worst offenders in a small pantry. They hide in back corners and knock everything over when you reach for them. A simple turntable (lazy Susan) on the shelf solves it: spin the group around instead of performing archaeological excavation. One turntable per shelf of tall items is the sweet spot. They’re cheap, they need no installation, and they work in cupboards, corner cabinets and freestanding pantries alike. Put the things you reach for least at the back of the turntable and the daily items at the front.
7. Claim the back of the door
The inside of your pantry door is free storage doing absolutely nothing. An over-the-door wire rack or a hanging fabric organiser holds spices, small bottles, wraps and packets without touching a single shelf — pure bonus space. If you rent, the over-the-door hanging style needs no screws at all. This pairs beautifully with our broader renter-friendly kitchen ideas, since everything comes down cleanly when you move. Just check the door still closes fully once loaded, and keep heavier items low so the door doesn’t strain on its hinges.
8. Go vertical: add an extra shelf
Most pantry shelves are spaced for tall cereal boxes, which wastes the air above shorter items. Adding one extra shelf — a freestanding stackable shelf unit that simply sits on the existing shelf — can nearly double a shelf’s capacity for short items like tins and jars. No drilling required, and they cost less than a pizza. For a more permanent fix, our DIY floating shelf guide walks through adding proper shelving if you own your place. Either way, the principle is the same: in a small pantry, vertical space is the cheapest space you’ll ever gain.
9. Use stacking to double capacity
Where you can’t add shelves, stack instead. Stackable bins turn one layer of snacks into two; stacking baskets corral onions and potatoes while using the same footprint. The trick is choosing stackable containers designed for it — wobbly towers of random boxes are how pantries collapse. Look for bins with lids that double as trays, or purpose-made stacking baskets. Keep the heaviest items at the bottom and the things you grab daily on top. And leave a little headroom: a stack you have to unstack to reach the middle shelf defeats the purpose.
10. Create zones by how you cook
Stop organising by food type and start organising by meal. A “breakfast zone” (oats, cereal, honey, tea) on one shelf, a “baking zone” (flour, sugar, baking powder) on another, a “dinner zone” (pasta, tins, sauces) on a third. This matches how you actually move through cooking a meal, so everything you need is in one place. Put the zones you use daily at eye level and the occasional-use zones (baking, entertaining) higher or lower. It feels oddly luxurious to reach for one shelf and have the whole meal there — and it makes unpacking groceries dramatically faster, because every item has an obvious home.
11. Tame packets, sachets and small boxes
Seasoning packets, gravy sachets, tea bags, small spice refills — these are the items that turn a pantry into a paper avalanche. The fix is a single narrow bin (an old magazine file works brilliantly) where they all stand upright like files in a drawer. You can flip through them instead of digging. For tea bags specifically, a small lidded box keeps them fresh and tidy. This one bin eliminates the single biggest source of visual chaos in most pantries, and it costs nothing if you repurpose something you already own. Our budget decor hacks roundup has more ideas for repurposing cheap finds into organisers.
12. Keep produce visible with open bins
Potatoes, onions and garlic shouldn’t live in dark cupboards where they sprout forgotten — and they shouldn’t roll around loose either. A ventilated basket or open bin on a low shelf keeps them visible, aired and easy to grab. Keep onions and potatoes in separate bins (onions make potatoes sprout faster), and don’t store either near the fruit bowl for the same reason. Wire or woven baskets look great and provide the airflow produce needs. This is also a good spot to apply the open-shelf styling principles from our guide to styling open kitchen shelves — everyday items can look good and work hard at the same time.
13. Light it up cheaply
You can’t organise what you can’t see, and most pantries are caves. A battery-powered motion-sensor light strip (a few pounds, sticks on with adhesive, no wiring) transforms a dark pantry — the light clicks on when you open the door and off when you close it. Place one strip under each shelf lip for even coverage. It’s a small purchase with an outsized effect: suddenly you can read labels, spot what’s running low, and the whole pantry feels bigger and more deliberate. Rechargeable versions mean no battery costs, and most last weeks between charges.
14. Schedule a five-minute weekly reset
Here’s the unglamorous truth: no pantry stays organised by itself. The system only works if you maintain it — but maintenance can be tiny. Once a week, when you’re putting groceries away anyway, spend five minutes: toss anything expired, put strays back in their zones, wipe one shelf. That’s it. The Frugal Farm Girl’s small-pantry guide makes the same point: the weekly micro-reset is what separates pantries that stay organised from ones that slide back into chaos within a month. Set a phone reminder for the same day you shop, and it becomes part of the routine rather than a chore.
Small pantry organisation FAQs
How do I organise a very small pantry on a budget?
Start by emptying it completely and discarding expired items — that’s free and usually frees up a quarter of the space. Then decant staples into clear containers, group the rest into labelled bins, and add one or two cheap helpers like a shelf riser or an over-the-door rack. Most small pantries can be fully reorganised for under £25/$30 using discount-store containers.
Should pantry containers be clear or opaque?
Clear, almost always. If you can see the contents at a glance, you’ll use things before they expire and stop buying duplicates. The exception is items sensitive to light (some oils, potatoes) — those are better in opaque or dark containers, or kept on a lower, darker shelf.
How do I organise a pantry with deep shelves?
Deep shelves are the hardest pantry layout. Use shelf risers so back items sit higher and stay visible, add a lazy Susan for corners, and store backstock (not daily items) at the very back. Pull-out bins that slide toward you effectively shorten the shelf depth and are worth the small investment.
What’s the best way to organise spices in a small pantry?
Decant into small uniform jars with labels on the lids (so you can identify them from above), and store them on a tiered riser or a turntable. Alternatively, claim the back of the pantry door with a slim spice rack — it keeps them visible without using any shelf space at all.
How often should I reorganise my pantry?
A full empty-and-reset once or twice a year is plenty, plus the five-minute weekly tidy when you unpack groceries. If your system needs constant reorganising, the system is wrong — simplify the zones or add labels until everything has an obvious home.
Conclusion
A small pantry doesn’t need more space — it needs better decisions about the space it has. These small pantry organization ideas on a budget all come down to the same few principles: see everything (clear containers, good light), give everything a home (zones, labels), and use the space you forgot about (doors, vertical air, deep corners). Do the empty-and-sort this weekend, add the cheap helpers over the next few weeks, and keep the five-minute reset. Your future self — the one who can actually find the cumin — will thank you.