
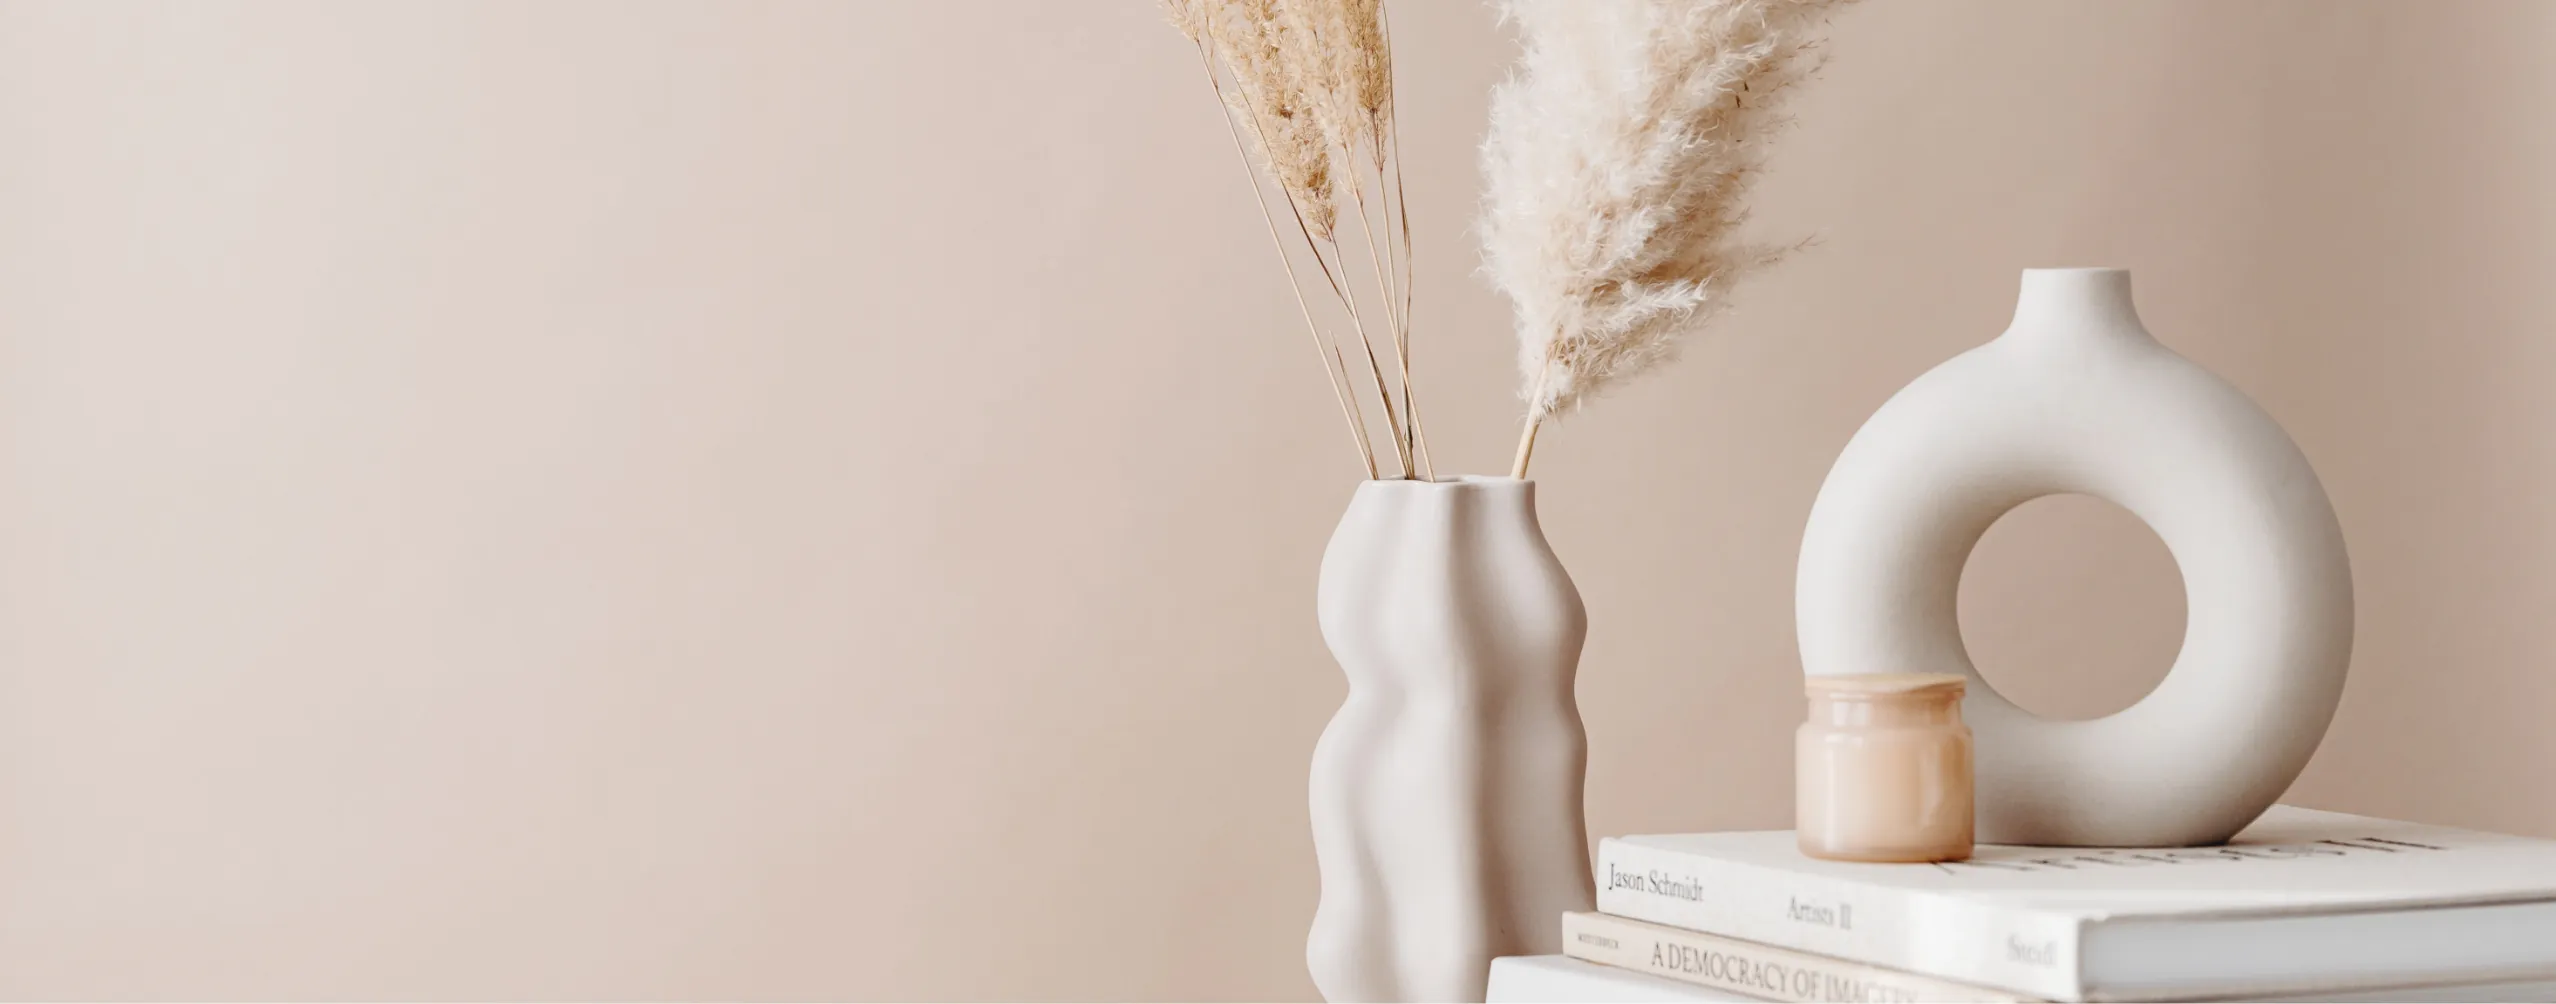
Open shelves in the kitchen are having a moment — and for good reason. They make a kitchen feel bigger, brighter, and more personal than closed wall cabinets, putting your prettiest everyday pieces on display. But there is a fine line between effortlessly styled and cluttered chaos. The secret is not owning beautiful things (though it helps) — it is knowing how to group, layer, and space them. In this guide, we share 13 practical styling tips covering grouping, heights, colour palettes, and lighting, plus a shortlist of affordable finds to get you started. Whether you have floating shelves, a plate rack, or a full open-shelving wall, these ideas work.
13 Practical Tips for Styling Open Kitchen Shelves
1. Start with a blank slate
Take everything off the shelves and give them a good wipe — styling is ten times easier with a clean canvas. Then be ruthless: open shelves are display space, not storage for the chipped mug from 2014. Keep only pieces you actually like looking at, and relocate the rest into closed cupboards. A good rule of thumb: if you would not photograph it, do not display it. You will be surprised how much calmer the kitchen feels with just this one step.
2. Mix everyday essentials with decorative pieces
The best-styled shelves look collected, not decorated. Blend the practical (stacks of bowls, everyday glasses, olive oil) with the purely pretty (a small vase, a framed print, a wooden board). This mix is what makes shelves feel like part of a real, lived-in kitchen rather than a showroom. Aim for roughly 70% functional and 30% decorative — the functional items earn their place by being used, which also keeps dust at bay.
3. Commit to a tight colour palette
Colour is what separates styled shelves from cluttered ones. Pick two to three colours plus neutrals and stick to them across every shelf — white ceramics with warm wood and one accent (sage green, terracotta, or classic blue all work beautifully). Pull the accent colour from elsewhere in your kitchen, like a rug or artwork, so the shelves feel connected to the room. When everything shares a palette, even mismatched pieces look intentional.
4. Vary heights and shapes
A shelf of identically sized items looks like a shop display. Instead, mix tall and short, round and angular: a tall vase next to a stack of bowls, a rectangular chopping board behind round plates. This variation creates rhythm and keeps the eye moving. If everything you own is the same height, cheat with risers — a small stack of books or an upturned bowl under a shorter item adds instant height.
5. Group items in odd numbers
Stylists swear by odd numbers, and it really works: groups of three or five look more natural and dynamic than pairs. Try three bud vases in different heights, five spice jars in a row, or a stack of three bowls topped with a small plant. The exception is symmetry used as an anchor — matching pieces flanking a centrepiece can ground a shelf beautifully (see tip 12).
6. Layer from back to front
Depth is your friend. Place larger, flatter items at the back (chopping boards, platters, framed art) and smaller pieces in front (jars, cups, tiny plants). This layering creates a sense of abundance without clutter and lets you fit more on each shelf. Leave a little overlap so pieces feel connected rather than lined up like soldiers.
7. Leave breathing room
The number-one mistake is filling every centimetre. Negative space — the empty gaps between groupings — is what makes styled shelves look expensive and calm. Aim to leave at least a third of each shelf empty. If a shelf feels crowded, remove one group entirely rather than shuffling things around; editing is almost always the answer.
8. Repeat materials for cohesion
Repetition is the quiet trick behind cohesive shelves. If you have a wooden chopping board on the top shelf, echo it with wooden spoons in a crock on the middle shelf. Marble, brass, glass, woven textures — pick two or three materials and repeat each at least twice across your shelves. This threading of materials ties the whole wall together, even when the individual items are eclectic.
9. Add something living (or nearly)
Every shelf needs something organic to soften all the hard ceramics and glass. A trailing pothos, a pot of fresh herbs, or even a small bunch of dried eucalyptus adds life, colour, and movement. In a kitchen, herbs are doubly useful — basil, mint, and rosemary look great and get used in cooking. No green fingers? High-quality faux herbs and trailing plants are convincing these days — see our guide to artificial plants that look real for the best options.
10. Corral small items on trays and in baskets
Small bits — salt cellars, spice jars, tea tins — look messy scattered but charming grouped. A small wooden tray, a shallow basket, or even a marble board turns a cluster of little things into one intentional “moment”. This also makes cleaning a dream: lift the whole tray to wipe the shelf. Choose trays in your palette materials (wood, rattan, or ceramic) to reinforce tip 8.
11. Add lighting to make shelves glow
Lighting transforms open shelves from daytime storage to an evening feature. Battery-operated LED puck lights stuck under each shelf, or an adhesive LED strip along the front edge, cast a warm glow that highlights your styling and doubles as gentle task lighting. Warm white (2700K) flatters food and ceramics; avoid cool blue tones. Many puck lights come with remotes and timers, so they switch themselves off.
12. Anchor each shelf with a statement piece
Give each shelf one hero: a large vase, a beautiful Dutch oven, a leaning piece of art, or a sculptural carafe. The statement piece anchors the composition and everything else plays a supporting role. One per shelf is plenty — two heroes compete, and the shelf starts to feel busy again. Scale matters: the anchor should be roughly a third of the shelf’s height.
13. Keep daily items within easy reach
Pretty matters, but so does practical. Store the things you grab every day — coffee mugs, breakfast bowls, the olive oil — on the lowest, most accessible shelf, and push purely decorative pieces higher. Open shelves should make your kitchen easier to use, not turn every cup of tea into a step-stool expedition. If you have to think about reaching it, it belongs in a cupboard.
6 Affordable Open-Shelf Styling Finds
You do not need to spend much to style beautiful shelves. These six affordable finds — all widely available on Amazon and Wayfair — cover the building blocks: ceramics, trays, greenery, and light.
1. Handmade-look stoneware mug set
Nothing styles a shelf like a row of beautiful mugs. Stoneware sets with a handmade, reactive-glaze finish look artisan and expensive, but four-piece sets often cost under $25/£20. Choose a single colour for maximum cohesion, hang a couple on hooks if you are short on shelf space, and use the rest for your morning coffee — functional and decorative in one.
2. Acacia wood serving tray
A wooden tray is the hardest-working styling tool you own: it corrals small items into one tidy group, adds warm natural texture, and lifts everything sitting on it. Use one to group oils and vinegars by the hob, or style it with a small vase and candle on an upper shelf. Acacia is durable, affordable, and looks better with age.
3. Faux potted herb plant
A little greenery is non-negotiable on open shelves, but real herbs need sun and regular watering. A convincing faux potted herb — basil, rosemary, or eucalyptus — gives you the colour and softness with zero maintenance, and it never wilts next to the hob. Tuck one at the end of a shelf or between stacks of bowls for an instant lift.
4. Woven seagrass storage basket
Small baskets hide the less-photogenic essentials — tea bags, spice sachets, spare linens — while adding natural texture that softens all the hard ceramics. A lidded seagrass basket on a lower shelf keeps clutter invisible but accessible. They are inexpensive, lightweight, and the woven texture repeats beautifully if you use two or three across your shelves.
5. Battery-operated LED puck lights
The fastest way to make styled shelves look professionally done is lighting. A 3-pack of battery-operated LED puck lights costs very little, installs in minutes with adhesive pads (no wiring), and many come with a remote and timer. Stick one under each shelf, choose warm white, and enjoy the glow every evening.
6. Set of 3 ceramic bud vases
Bud vases are the stylist’s secret weapon: grouped in threes at varying heights, they fill awkward gaps and add sculptural interest even when empty. Pop in a single stem — real or dried — and they look effortlessly chic. Matte ceramic sets in neutral tones work with any palette and cost less than a takeaway.
What not to put on open shelves
A quick word on what to keep off the shelves. Anything you use rarely will just gather dust and grease — open shelving near a hob collects a surprising film, so everyday items (which get washed regularly) fare best. Mismatched plastic containers and novelty mugs undermine the whole look; decant dry goods into matching jars instead. Avoid heavy items above head height for safety, and keep anything precious away from steamy, splashy zones near the sink and cooker.
The bottom line
Styling open kitchen shelves is less about shopping and more about editing: a tight palette, varied heights, odd-numbered groupings, breathing room, and a little warm light will take you 90% of the way. Start by stripping everything back, apply the tips one shelf at a time, and live with it for a few days before tweaking. The best shelves evolve — swap pieces seasonally, and do not be afraid to leave a shelf half-empty. Restraint is the whole trick.